• Skip to secondary menu
  • Skip to main content

Love Into Jars

A Smashbook "How To" Guide for Easily Mastering Canning Basics, Preserving Seasonal Flavors & Family Recipes

  • Home
  • Contests & Treasures
  • About the Author
  • Blog
  • Events
  • Samples
  • Shop

adomesticwildflower

Do You Need to Sterilize Your Canning Jars?

August 23, 2017 by adomesticwildflower

This post will explain why you don’t need to sterilize your jars before canning- except when you do. Read on for the scoop!

Should you sterilize your canning jars first? Or can you skip it? This post explains why you can skip it- except when you can't. Read on for the facts that will save you time and put your mind at ease!

Sterilizing jars before canning is topic I’m asked about often and I wanted to write a post to clarify when sterilizing jars is necessary when canning, and when it is not.


One of the factors that makes canning “work” is heat. Water bath canning brings the inside of the jars (and thus the food) to over 212 degrees, which kills spoilers (microorganisms) in the high acid environment.


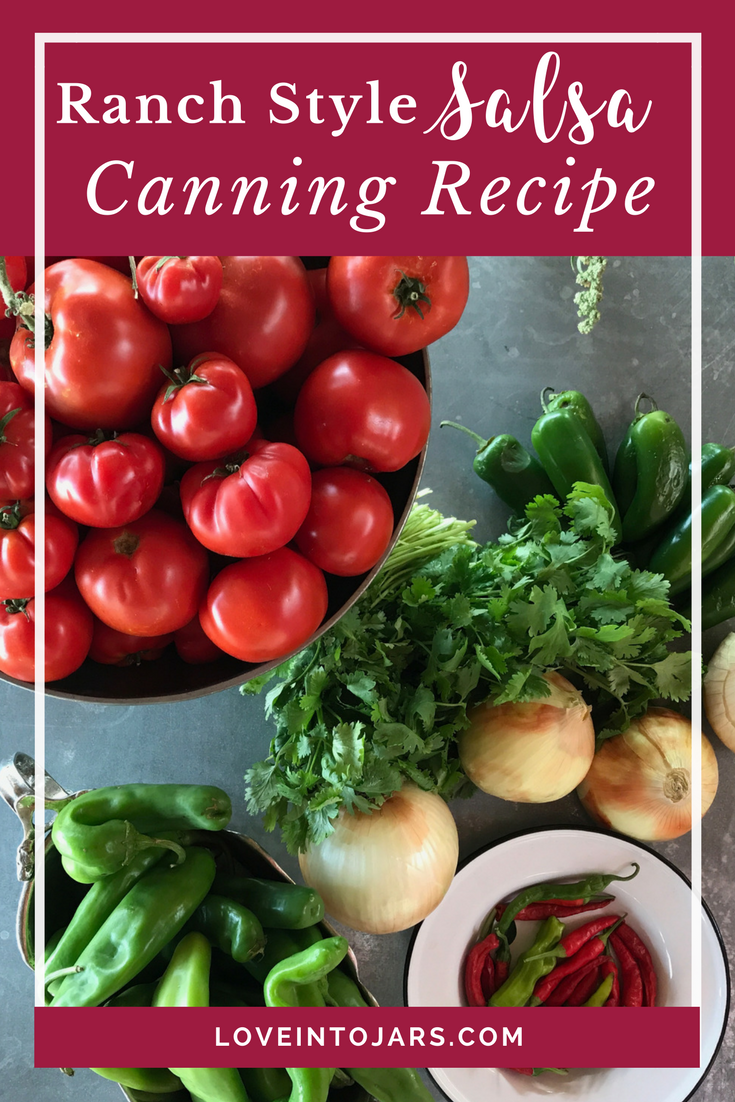
The high acid environment is the high acid raspberry jam, dilly beans, or salsa canning recipe that you’ve prepared. All water bath canning recipes are high in acid. Acid is one of the other factors that makes canning “work.”


This heat is enough to kill the germs that any sterilization step may kill as long as the processing time of the water bath recipe in question is 10 minutes.


Most water bath canning recipes require a 10 minute processing time, so most of the time, you would not have to sterilize your jars first, because they will be sterilized as the jars process in a boiling water bath or the steam canner.


However, if you are canning a recipe that calls for processing time that is less than 10 minutes (some juices in jars smaller than a quart, perhaps, like cranberry) the official recommendation is that the jars be sterilized first.


To properly sterilize jars, they must be submerged in boiling water for ten minutes.


If I were canning a recipe where the process time was 5 minutes, I would rather add 5 minutes to the processing time and meet the sterilization requirement that way, rather than go through the steps of sterilizing separately.


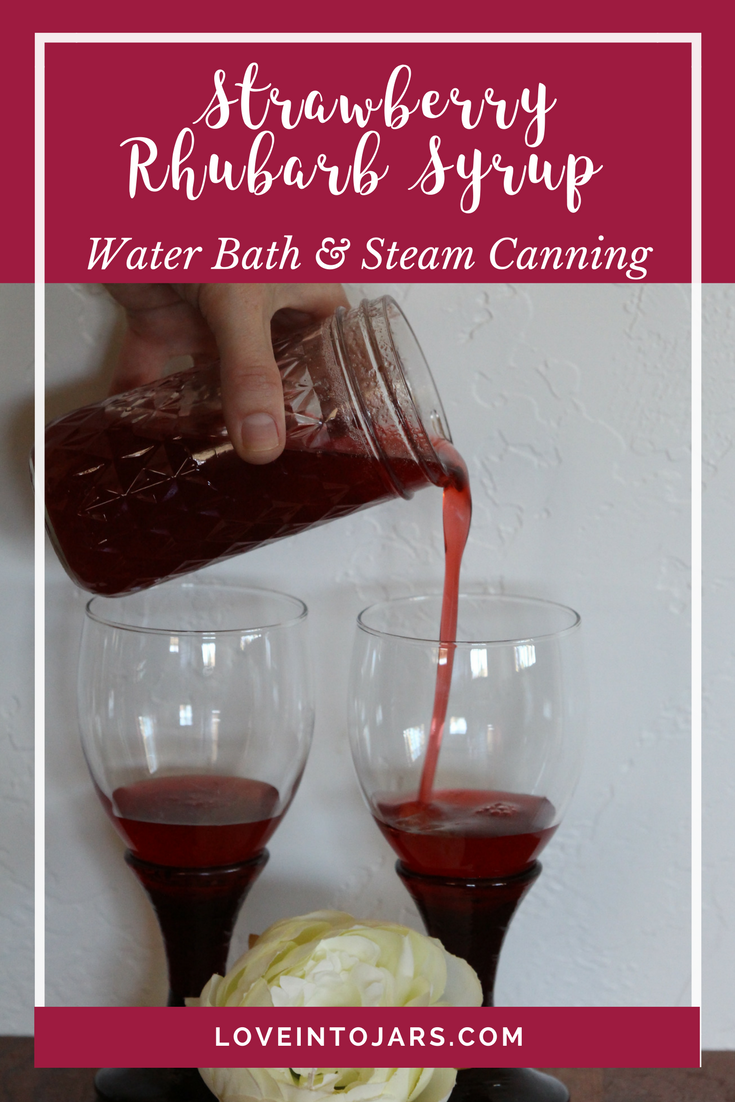
The downside to a longer process time is pickles that aren’t as crisp, and fruit juice that has lost the fresh fruit flavor (though I think a 5-10 minute process time wouldn’t make a dramatic difference in flavor, but it should be considered nonetheless).


Because I live above sea level at 3000 feet elevation, I have to add 15 minutes to all my canning times (5 minutes for every 1000 feet)- I’ve never faced the option choosing to sterilize OR increase the process time.


Readers have told me that they sterilize their jars/process jars in the dishwasher and/or oven. This method of canning or sterilizing isn’t approved by the USDA, nor is it safe. You can read the official recommendations here: http://nchfp.uga.edu/publications/usda/GUIDE01_HomeCan_rev0715.pdf


There’s no way to know the temperature inside a dishwasher, nor how long a certain temperature is maintained.


Canning jars are specially designed for the heat of hot water; the heat in an oven is completely different and jars can splinter. Furthermore, you know that sound of your oven heating up, and then turning off? There are fluctuations in temperature inside an oven that make it also an unsafe choice for canning food in any form as well as an unreliable method of sterilization.


I can with clean (no debris, washed by hand or in the dishwasher, or new out of the box) jars and NEW lids.


I can guarantee that when you read this information and share it with others, this is what will happen. Some people will say, “Oh, how great to know, I always wondered about this, etc” and others will say things like, “Well my mom always sterilizes her jars because X, Y, and Z.” And both of these responses are okay.


Canning, like most food related activities is steeped in tradition and is part of many family’s food culture. That’s why changing your diet is so hard; food culture is powerful stuff! We are wired to eat and cook the way our mama did!


When you encounter a negative reaction to your new, up to date, scientifically based canning information, you don’t have to engage in debate or argue. You can always read more about it here http://nchfp.uga.edu/publications/usda/GUIDE01_HomeCan_rev0715.pdf

And know that every woman is the queen of her own kitchen; you probably won’t sway other’s behavior but you can know, henceforth, that sterilizing jars is unnecessary unless your recipe has a process time of under 10 minutes in which case you can A. sterilize your jars first by boiling them for 10 minutes or B. simply increase the processing time to a total of 10 minutes.

Sign up for the Love Into Jars waitlist to get the canning smashbook as soon as it is available!
Me, being the queen of my kitchen 😉

Be sure to sign up to the Love Into Jars waitlist; you’ll be the first to know when the canning smashbook that will share all kinds of beginner friendly tips- just like this post- is available!

Filed Under: Instruction

Ranch Salsa Recipe

August 21, 2017 by adomesticwildflower

This canning recipe is easy for beginners, fast to cook, and fun because you can roast the veggies on the grill, or under the broiler. Read on for the recipe!

Ranch style salsa is a perfect canning recipe for putting Love Into Jars! Get the recipe and easy tutorial here! Steam canning and water bath canning instructions included!

This salsa recipe requires you to roast the onions (peeled first, and cut in half), tomatoes (whole), and peppers (also whole) on a grill or under a broiler. The season will dictate which method you choose, I’m sure, but the grill was pretty easy. Try it, if you can!

The ratio of hot peppers to mild is about 1/3 hot to 2/3 not for a medium hot salsa. That was just too hot for my kids and hot enough to please my grown up, but not in love with super hot spice preference. You can cut back to just one jalapeño if you prefer a mild salsa, or even none. Use mild banana or bell peppers for the remaining portion.

The prep takes the longest – cooking takes almost no time at all. Just bringing the salsa up to a boil takes about 5 minutes so you could-if you desired- to roast the veggies one afternoon, refrigerate them, and then can them the next day. That is of course if you were short on time.

Here’s the recipe, and you can download it for free here if you like!


Ranch style salsa is a perfect canning recipe for putting Love Into Jars! Get the recipe and easy tutorial here! Steam canning and water bath canning instructions included!

I had the best time demonstrating how to make this salsa recipe in person at my friend Mary’s camping retreat held at her ranch, Five Mary’s Farms. I taught 25 women how to make this recipe, the differences between steam and water bath canning, the importance of acid in canning, and more!

Ranch Style Salsa Recipe

My new book, Love Into Jars will be out soon! Sign up to know when it is available for preorder!

Filed Under: Recipes

Small Batch Strawberry Rhubarb Syrup

July 21, 2017 by adomesticwildflower

This post shares a super simple, small batch recipe for strawberry rhubarb syrup, plus super clear directions for both water bath canning and and steam canning!

Small Batch Strawberry Rhubarb Syrup | Love Into Jars ~ Get the super simple, small batch recipe with crystal clear, step by step directions for traditional water bath or steam canning process!


This post contains affiliate links.

If using a traditional water bath method:


Assemble: (5 minutes) The water bath processing pot (large pot that is 3 inches taller than the tallest jar you will can- it can be either the traditional black and white speckled kind, OR a stock pot), a wire canning rack (sold with the traditional speckled pots) or a silicone trivet for a stock pot. Gather the canning jars (usually specified in the canning recipe), rings, and NEW lids.

Place a towel flat on a nearby countertop. This will serve as a temperature buffer and soft resting place for your freshly canned jars. On the towel place your funnel, jar lifter, and ladle. A spoon rest or saucer is handy for keeping your area tidy.


Prepare: (5 minutes)  Put the jars in the bottom of the pot and one by one, fill from the faucet with water and then fill the pot of water entirely, covering the jars. Place the pot on a large burner, preferably in the back, and turn it on high. This will come to a boil while you prepare the food you will can. If at any time it starts boiling vigorously, you can turn the pot to medium heat. You can also add water at any time (using a teakettle or a spare canning jar) from the faucet to the pot should the boiling cause too much water to evaporate and the water level to lower.


If using a steam canner method:

(If you haven’t heard of a steam canner, read this post on my sister site here) & this is what they look like!

Assemble: (5 minutes) Place a towel flat on a nearby countertop. This will serve as a temperature buffer and soft resting place for your freshly canned jars. A jar lifter is an optional piece of equipment that you’d use if you plan on canning more than one batch in quick succession. You’d use it to move hot jars from the steam canner rack to the towel. On the towel place your funnel, jar lifter, and ladle. A spoon rest or saucer is handy for keeping your area tidy.


Prepare: (5 minutes) Fill base of steam canner to fill line according to the manufacturer’s specifications. My Victorio brand requires just 2 and a half quarts of water and any brand will be similar. Place the steam canner base and the accompanying rack on a large burner, preferably at the back of the stove.


Place clean jars on the steam canner rack. Place rings on the counter with individual, new lids in each ring, both upside down so you are looking at the threads of the ring and white side of the lid.


Prepare your preserve:

Small Batch Strawberry Rhubarb Syrup | Love Into Jars ~ Get the super simple, small batch recipe with crystal clear, step by step directions for traditional water bath or steam canning process!

1 1/2 cup chopped rhubarb

1 cup strawberries chopped

Simmer together with 2 cups water for 10 minutes or until rhubarb is very soft when pressed with a fork.

Pour mixture through a fine sieve over a bowl or saucepan and DO NOT press solids. Give the pulp at least 10 minutes to drain.

Add 2 cups sugar to the juice.

Stir with a whisk to combine, and bring a boil.

Lower heat to medium, to a gentle simmer.

Follow your chosen processing method below and process for 10 minutes, and add 5 minutes of processing time for every 1000 feet of elevation.


For a water bath process: (5-7 minutes)

Using a jar lifter, carefully remove one jar from the boiling water. Pour the boiling water back into the pot, or into the sink. Set the hot jar onto the towel. Place the funnel into the jar and ladle the hot preserve into the jar. Almost all recipes will indicate that you fill to ½ an inch or ¼ inch from the top edge of the jar, which is called the headspace. This can be a bit tricky for a beginner to gauge though many water bath canning utensil kits (jar lifter, lid lifter, funnel, etc) come with a tool for measuring the headspace which you could use. You can also easily measure on a toothpick before you begin and use that as your gauge.


Use care to prevent the preserve from touching the top edge of the jar. If you spill a bit, don’t worry. Use a damp, clean cloth to wipe the top edge of the jar clean. Any bit of preserve can prevent the lid from sealing, which can be a real disappointment. Put the lid and ring on top of the clean jar, and tighten just as tight as you would a bathroom faucet. It doesn’t need to be really tight.


Use the jar lifter to carefully submerge the jar into the boiling water bath. Remove the next jar and repeat. When all the jars are submerged and the water is at a boil, set the timer and remember to adjust for altitude by adding 5 minutes for every 1000 feet above sea level.


When the time is up, use the jar lifter to carefully remove each jar, one at a time from the boiling water onto the towel covered countertop.


Lids may seal almost instantly, or as long as 12 hours later. Let the jars rest undisturbed and after 12 hours, label sealed jars and store.


For a steam canning process: (5-7 minutes)

Put one warm jar on the towel covered countertop. Place the funnel into the jar and ladle the hot preserve into the jar. Almost all recipes will indicate that you fill to ½ an inch or ¼ inch from the top edge of the jar, which is called the headspace. This can be a bit tricky for a beginner to gauge though many water bath canning utensil kits (jar lifter, lid lifter, funnel, etc) come with a tool for measuring the headspace which you could use. You can also easily measure on a toothpick before you begin and use that as your gauge.


Use care to prevent the preserve from touching the top edge of the jar. If you spill a bit, don’t worry. Use a damp, clean cloth to wipe the top edge of the jar clean. Any bit of preserve can prevent the lid from sealing, which can be a real disappointment. Put the lid and ring on top of the clean jar, and tighten just as tight as you would a bathroom faucet. It doesn’t need to be really tight.


Place the jar on the rack of the steam canner. Repeat with remaining jars. Arrange jars so they are not touching. When the rack is full, put the steam canner lid on the pan. Turn the burner up to high. Watch the temperature gauge as it climbs to the zone or temperature indicated in the user manual. My steam canner has a “green zone” that tells me when it is ready for me to start the timer. When it is up to temperature, turn the heat down to medium high or medium, so that the temperature is maintained, rather than continuing to climb. The goal is NOT to boil all the water out of the steam canner; rather, it is to maintain that moderate and even boiling. The steam canner is boiling too rapidly if the lid is rattling around noisily, and a great volume of steam is pouring from the steam vent and sides.


Set the timer according to the recipe and remember to adjust for elevation by adding 5 minutes for every 1000 feet above sea level.


When the timer is up, turn the burner off. There is NO reason to rush to remove the lid. The lid could remain on the pot indefinitely. When the lid is cool enough to handle safely, lift it away from you and set it aside. The cooled jars can rest on the towel covered countertop.


Lids may seal almost instantly, or as long as 12 hours later. Let the jars rest undisturbed and after 12 hours, label sealed jars and store.


Small Batch Strawberry Rhubarb Syrup | Love Into Jars ~ Get the super simple, small batch recipe with crystal clear, step by step directions for traditional water bath or steam canning process!

What to do when you run out of jars: This means you will do one of two things. You will can a second batch OR you will store the preserve in a container in the refrigerator. If there is about 2 measuring cups of preserve left or more, I usually decide to can a second batch. That means that in a water bath, you will have to let the water cool to warm, submerge empty jars, fill the pot back up if necessary, bring back up to a boil and repeat the filling routine with the remaining jars. Sometimes, I will do this 3 or 4 times in an afternoon. Another water bath route is to fill a second water bath processing pot with another silicone trivet (should you have two of each) with jars and hot water and bring it to a boil when it becomes clear that a second batch will be necessary. This saves time significantly.


What to do when you run out of preserve and fill up only half a jar: You cannot seal, and thus preserve a jar with improper (either too much or too little) headspace. That means if your jar is under or over filled, it will not have a safe and reliable seal. If you realize that you’ve filled a jar and it is below the required headspace, then I would put a lid on it and let it cool on the towel covered countertop. Label it as NOT sealed, and store in the refrigerator. Eat as quickly as you would any other leftover food.


How to know if your jar has sealed: The lid is sealed when it is concave, firm to the touch, and the seal is in fact so strong that you could remove the ring and lift the jar by the edge of the lid itself. If you find that you have a jar that didn’t seal, simply store it in the fridge and eat it as you would any leftover food. 

Filed Under: Recipes

Canning Tools for Beginners

July 18, 2017 by adomesticwildflower

This post will share the canning tools that I use and love for water bath canning. These are the tools that I would recommend to a friend that was just getting started, and in the post I share some tips for avoiding that dreaded giant canning pot. 

Canning Tools for Beginners | Love Into Jars ~ this list is perfect for beginners interested in canning and explains the best tools for canning!

This post contains affiliate links.

If you are a learner who prefers video over reading, watch the YouTube version of the post here:

You can download the equipment checklist I mention in the video here!

I use these wide mouth pints all the time and they are the jar I recommend for a beginner. They are the most versatile because they are small enough to fit into a pasta pot water bath set up. They double as a drinking glass, are easy to clean by hand or in a dishwasher, and two cups of anything is a sizeable portion. It isn’t that often that I need four measuring cups of jam at once and these are just two cups. They are my favorite. 

The other jars that I really like are for giving as gifts. These tiny four ounce jars are perfect for sharing a rich spread like tomato jam, a spicy hot sauce, or shipping preserves in the mail. Jars are heavy, and especially when shipping internationally they are expensive to mail, so tiny jars are essential in these situations. I made sunny Meyer Lemon jam for my cousins in Switzerland in these jars; talk about California in a jar! Get these little jars and put Love Into Jars this season!

Want the equipment checklist to get started? Download it here!


I recommend this jar lifter and funnel set. Normally, I’m in favor of recyclable items but this funnel is see-through which makes eye-balling the headspace really easy as opposed to impossible with an opaque funnel. A jar lifter is mandatory; you must have one to water bath can and really should have one for steam canning.

You always need brand new lids. Used lids can be reused to store dry goods but CANNOT be used for canning. Get NEW lids like these for every single batch you preserve.

I LOVE LOVE LOVE this steam canner. If you already have a water bath canning set up and like it, that’s fine and dandy but if you don’t OR if you find your traditional canning process slow and cumbersome, listen up: STEAM CANNING IS FAST. It is ready in five minutes, while a traditional water bath takes about thirty minutes to be ready. I’m not a math teacher, but that seems like a big difference, right? You can read my post about steam canners here but you’ll definitely want to get your own steam canner after reading. I love this one.

A food mill is not necessary to can, exactly, but I use mine in nearly every recipe. I use so often because it is so effective in creating a super smooth puree, it is easy to clean, it is not an appliance that is going to break and be expensive to replace, they are all or mostly metal (read: durable) and I love that mine has 3 plates that can be swapped out. You know the 4 sides to a box grater? That’s what the interchangeable plates do; you can have a super fine puree, or just a medium one. The best example of it’s utility is making applesauce. I can cut a whole apple- core, seeds, skins, stems, everything- into quarters, add water, and boil till the quarters are really soft, and then plop the quarters into the food mill and all the cores, seeds, skins, and stems stay on the top and all that falls through is smooth applesauce. It is really a marvel of a tool. 

Here’s a video of it in action to show you exactly what it does!

A silicone trivet is a really versatile way of turning any old pot you already have into a water bath canning pot. You have to have a rack or buffer on the bottom of the pot to prevent the jars from breaking and the silicone trivet is an affordable and useful amendment. You can use it as a trivet, of course, when you aren’t canning, and when you are, it simply sits in the bottom of a stock or pasta pot.

You’ll be able to put Love Into Jars using these simple tools; amazing, right?

Filed Under: Instruction

Canning Is For Friends

July 12, 2017 by adomesticwildflower

Canning is for friends. It is, of course, nice sometimes to can alone, and it often is done in families, but canning is my favorite to share with friends. If you know how to can already, teaching a newbie how to set up the stove, how to macerate strawberries to get super plump preserves, how to get really crisp pickles, and how to impress a difficult mother in law with dreamy canned pie filling, you know that sharing canning with friends is a delight. Sharing the secrets of the trade makes you feel like one part magician, one part grandmother, and three parts domestic goddess.

Canning is for Friends | Love Into Jars ~ read this great blog post about friendship, canning and the joy in both!

If you have never canned, learning from a friend is pretty much the best thing ever. With a good, beginner-friendly cookbook open on the counter, a best friend guiding by your side, and cold drink in hand, you will in short order see why canning is quickly becoming the cooking technique of choice for modern cooks.

When I’ve had the pleasure of inviting friends over to can, the always say the same thing; “Oh, that’s way easier than I thought!” And, “I can do that!” Yeah, I know you can!

Canning is for Friends | Love Into Jars ~ read this great blog post about friendship, canning and the joy in both!

I helped my mom and grandma can when I was a kid growing up and got back into it when I was pregnant with my first child. That winter, I stood sideways at the stove, back aching and mind made up that I was going to make homemade applesauce for that baby in my belly. I had to make a lot of phone calls to my mom and grandma, and made a lot of mistakes solo, but in the end I canned that applesauce.

By the summertime, when the baby was napping solidly and tomatoes were ripe, I was comfortable canning alone and invited one of my best friends over to help me can tomato sauce. In classic “me” fashion, I had purchased an enormous quantity of tomatoes, and we aimed to process them all before my daughter woke.

We drank cold beers, turned the fan on, and got to work. My bestie is a good cook but she had never canned, and I had only been canning solo for about six months. It was one of the first times I had got to spend any time with her since I became a mom and that afternoon has a special place in my heart. We worked hard and fast, chatted and laughed quietly so as not to wake the baby, and we canned many, many jars of delicious, wholesome tomato sauce and split the jars between us. We shared the chore of washing the few pots and pans, and we both had matching red-spattered shirts that we should have covered with aprons.

Canning with friends is NOT just about making jam. It is not just about saving money, eating healthy foods, or making cute giftable jars of pickled cherries- though those are all terrific benefits! Canning with friends is about sharing a task that seems a bit daunting, achieving it easily and deciding to make a second batch while the first is still processing. Canning with friends is about learning something that seems vaguely complicated and old fashioned and realizing that it is actually really fun to do together and that it is in fact quite modern and sophisticated. Canning is about sharing the work of selecting the produce, sharing the decision of which recipe to use to preserve it, splitting the chore of working it up, sharing the joy of success in hearing those lids pop when pulled from the pot, and about spreading the love afterwards. Giving a jar of homemade preserves is pretty special, but to say, “My dear friend and I made this together- please enjoy it!” is a love language all its own.

Canning is for Friends | Love Into Jars ~ read this great blog post about friendship, canning and the joy in both!

Sure, sometimes I do like to can alone. It can feel quiet and meditative, and to finish a big batch alone can feel like completing a long run solo. Canning with family can be loud and boisterous, full of family rules, hierarchy, and tradition. Don’t get me wrong; I love all that, especially tradition, but laughing with my girlfriends is something I get to enjoy less and less of now that I have small children. Sharing canning has been such a fun, productive, joyful, and loving thing to do with my friends; I can only hope I have encouraged you canners to share it with those near and dear to you and to you newbies, I hope you reach out to a canner you know and ask to learn and laugh by their side.  

I am SO excited to announce that I’m working on my first book that will share canning with many of my friends; my readers. Love Into Jars is in the works and my editor and I are so eager for you to be able to enjoy it very soon~

Join the waitlist so you’ll know when the book is available for order!

Filed Under: Essays

  • « Go to Previous Page
  • Go to page 1
  • Go to page 2
Copyright © 2023 ·Lifestyle Pro · Genesis Framework by StudioPress